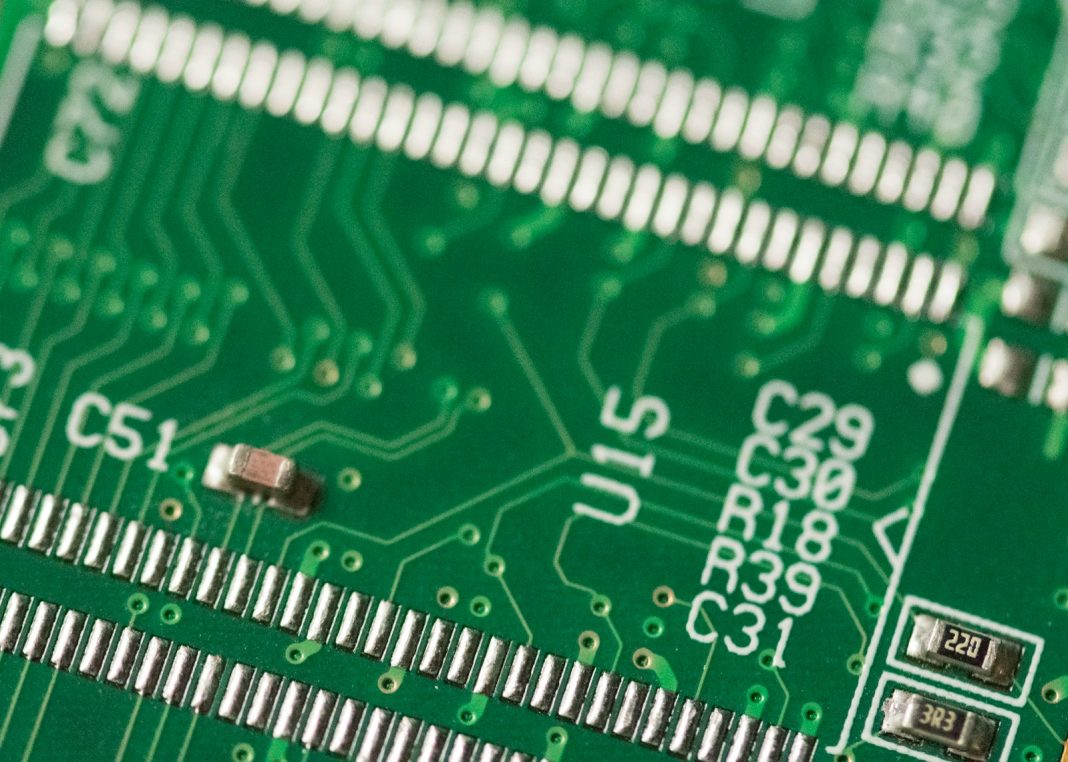
Random Access Memory (RAM) plays a vital role in a computer’s performance and stability. When RAM encounters issues, users may experience a range of problems, from slowdowns and crashes to the notorious Blue Screen of Death (BSOD). This article outlines how to effectively test and troubleshoot RAM issues.
Identifying RAM Instability
The effects of RAM instability can vary, ranging from minor performance issues and occasional crashes to more severe problems such as frequent BSODs. Error messages like “page fault in non-paged area” are common indicators of RAM problems. It’s important to recognise and address these issues to maintain optimal computer performance.
Using Windows Memory Diagnostic
Windows includes a built-in tool called Windows Memory Diagnostic, which provides a straightforward method for checking RAM problems. Follow these steps to use it:
- Open Windows Memory Diagnostic: Search for ‘Memory Diagnostic’ in the Windows search bar and select the tool.
- Restart and Test: Choose the option to restart your PC and initiate the test.
- Observe the Test: After rebooting, a blue screen will appear to show that the RAM is being tested. The process usually takes between 15 and 30 minutes.
- Check the Results: When the test is complete and your PC restarts, you will receive a notification indicating whether the RAM passed or failed. A failure means the RAM is unstable and needs to be replaced.
Advanced Testing with MemTest86
If Windows Memory Diagnostic does not reveal any issues but you still suspect RAM problems, MemTest86 offers a more thorough examination. This tool operates outside of the Windows environment and requires a USB storage device. Follow these steps to use MemTest86:
- Download and Prepare MemTest86: Obtain the free version from the PassMark website, unzip the file into a new folder, and format a USB storage device.
- Create a Bootable USB: Use the
imageUSB.exetool from the extracted files, select your USB device, and click ‘Write’ to create a bootable MemTest86 USB. - Access Advanced Start up: Search for ‘Advanced start up’ in the Windows search bar, select ‘Change advanced start up options,’ and click ‘Restart now.’
- Boot from the USB Drive: After your PC restarts, select ‘Choose a device’ and pick the USB device from the list (e.g., UEFI: Removable Device).
- Run MemTest86: Your PC will load MemTest86 and start testing automatically, which may take approximately three hours.
- Review the Results: Upon completion, MemTest86 will inform you if the RAM has passed or failed. A failure indicates that the RAM should be replaced.
Solutions for Faulty RAM
If your RAM fails either test, consider the following solutions:
- Adjust Overclocking Settings: If you have overclocked your RAM, return it to default speeds and timings, or reduce the overclock to enhance stability. Even minor overclocking can cause instability.
- Verify System Compatibility: Check that your RAM is compatible with your motherboard. Incompatibility can lead to instability, and you might need to either underclock the RAM or replace it with a compatible kit.
- Replace the RAM: If the RAM is compatible but still causes issues, it may be faulty. If still under warranty, contact the manufacturer for a replacement. For laptops or prebuilt PCs, seek repair or replacement from the original supplier.
- Install New RAM: For desktop computers, particularly those with standard parts or custom builds, replacing RAM is relatively simple. Ensure the new RAM kit is compatible with your motherboard. For prebuilt systems with proprietary parts (e.g., HP or Dell), you may need to find OEM-certified RAM.
Effective diagnosis and resolution of RAM issues are essential for maintaining a stable and efficient computer system. By using tools such as Windows Memory Diagnostic and MemTest86, users can identify and address RAM problems accurately. Adjusting overclocking settings, ensuring compatibility, and replacing faulty modules are key steps in resolving these issues. Regular testing and maintenance will help prevent disruptions and ensure a smooth computing experience.


