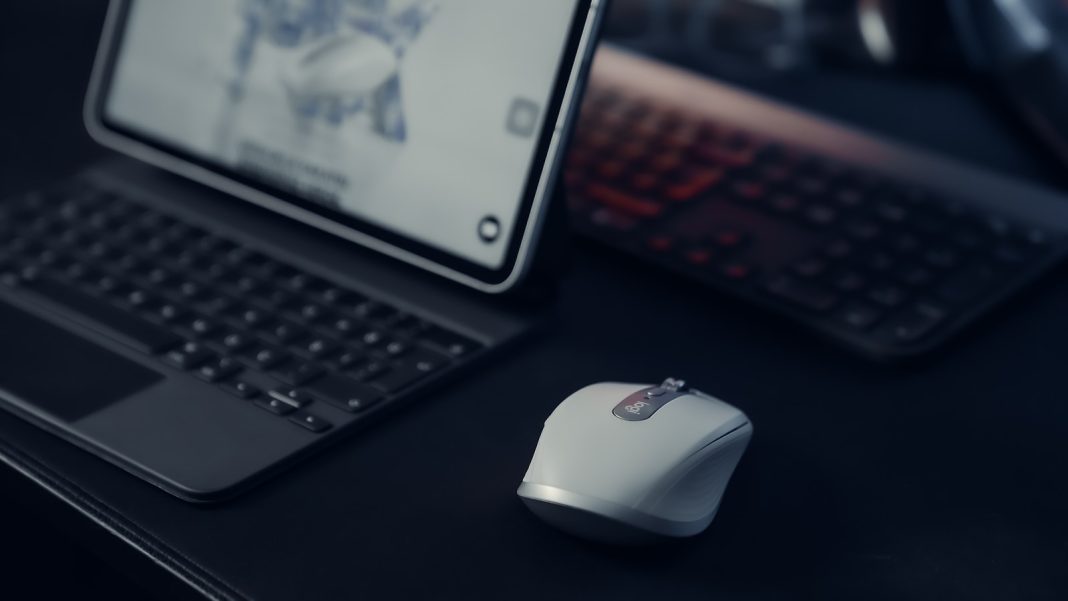
In the modern world of wireless technology, setting up a wireless mouse with your laptop is a relatively straightforward task. Whether you prefer using a USB receiver or Bluetooth, this guide provides clear instructions to help you get your wireless mouse operational quickly and efficiently.
Setting Up a Wireless Mouse with a USB Receiver
Many advanced and gaming mice come with their own USB receiver, offering a reliable and low-latency connection compared to Bluetooth. Follow these steps to get started:
- Plug in the USB Receiver
Begin by inserting the USB receiver into an available USB port on your laptop. If your laptop lacks a suitable port, consider acquiring an adapter or docking station to add additional USB connections. - Install the Required Drivers
Your laptop’s operating system might automatically detect and install the necessary drivers for the USB receiver. For optimal performance, however, it is recommended to download the most recent drivers from the manufacturer’s website. Visit the Support section on the official site to locate and download the appropriate drivers for your operating system. - Activate Your Mouse
With the receiver in place and drivers installed, turn on your wireless mouse. It should connect automatically. If your mouse comes with specific manufacturer software, you may need to open this software to complete the setup process.
Connecting Your Wireless Mouse Using Bluetooth
If your mouse connects via Bluetooth or supports Bluetooth as an alternative method, here’s how to pair it with your laptop:
- Access Bluetooth Settings on Your Laptop
Ensure Bluetooth is activated on your laptop. On Windows, open Bluetooth settings by clicking the arrow in the bottom-right corner of the screen next to the date and time, and then select the Bluetooth icon. If Bluetooth is off, go to Settings > Devices > Bluetooth & other devices to enable it.For macOS, click on the Apple menu, navigate to System Preferences, and select Bluetooth from the sidebar.
- Prepare the Mouse for Pairing
Switch on your Bluetooth mouse. If it has a pairing button, press it to initiate pairing mode. Refer to the mouse’s manual if you need detailed instructions on how to enable pairing mode. - Pair the Mouse with Your Laptop
On Windows, select “Add Bluetooth or other device,” then choose “Bluetooth”. When your mouse appears in the list of devices, select it and click “Connect”.On macOS, select the mouse from the list of available devices and click “Connect”. Follow any prompts to enter a numerical code if required and press Enter.
Troubleshooting Tips
If you encounter difficulties while connecting your wireless mouse, consider these troubleshooting steps:
- Verify Compatibility: Make sure your laptop’s operating system supports the mouse’s drivers or Bluetooth capabilities.
- Check Battery Levels: Low batteries in the mouse can affect connectivity. Replace or recharge the batteries as necessary.
- Update Drivers and Software: Ensure that both your operating system and the mouse’s drivers or software are up-to-date.
- Restart Devices: Sometimes, restarting your laptop or toggling the mouse off and on can resolve connection issues.
Connecting a wireless mouse to your laptop, whether through a USB receiver or Bluetooth, is usually a simple and quick process. By following these guidelines, you can ensure a smooth setup and make the most of your wireless mouse.
As technology continues to advance, the methods for connecting and configuring wireless devices will likely become even more efficient. For now, understanding these fundamental steps will help you maintain an effective and functional computing setup. Should you experience any persistent issues, referring to the mouse’s user manual or contacting the manufacturer may provide further assistance.


